

Hi, we’re Osmo!
Learning is best when it’s called play. Osmo puts the fun in building learning fundamentals through the magic of hands-on play, tangible pieces and digital fun!
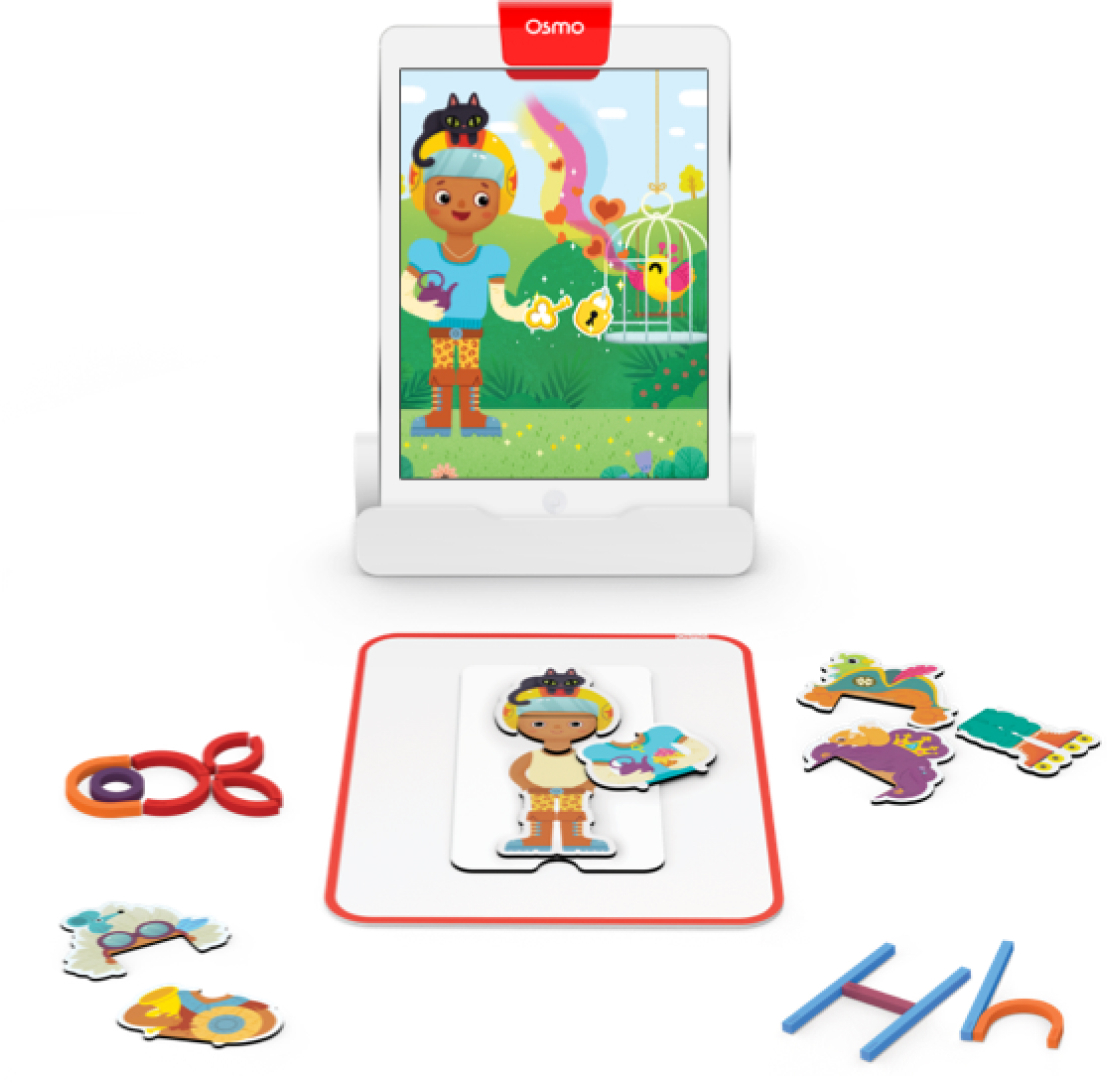
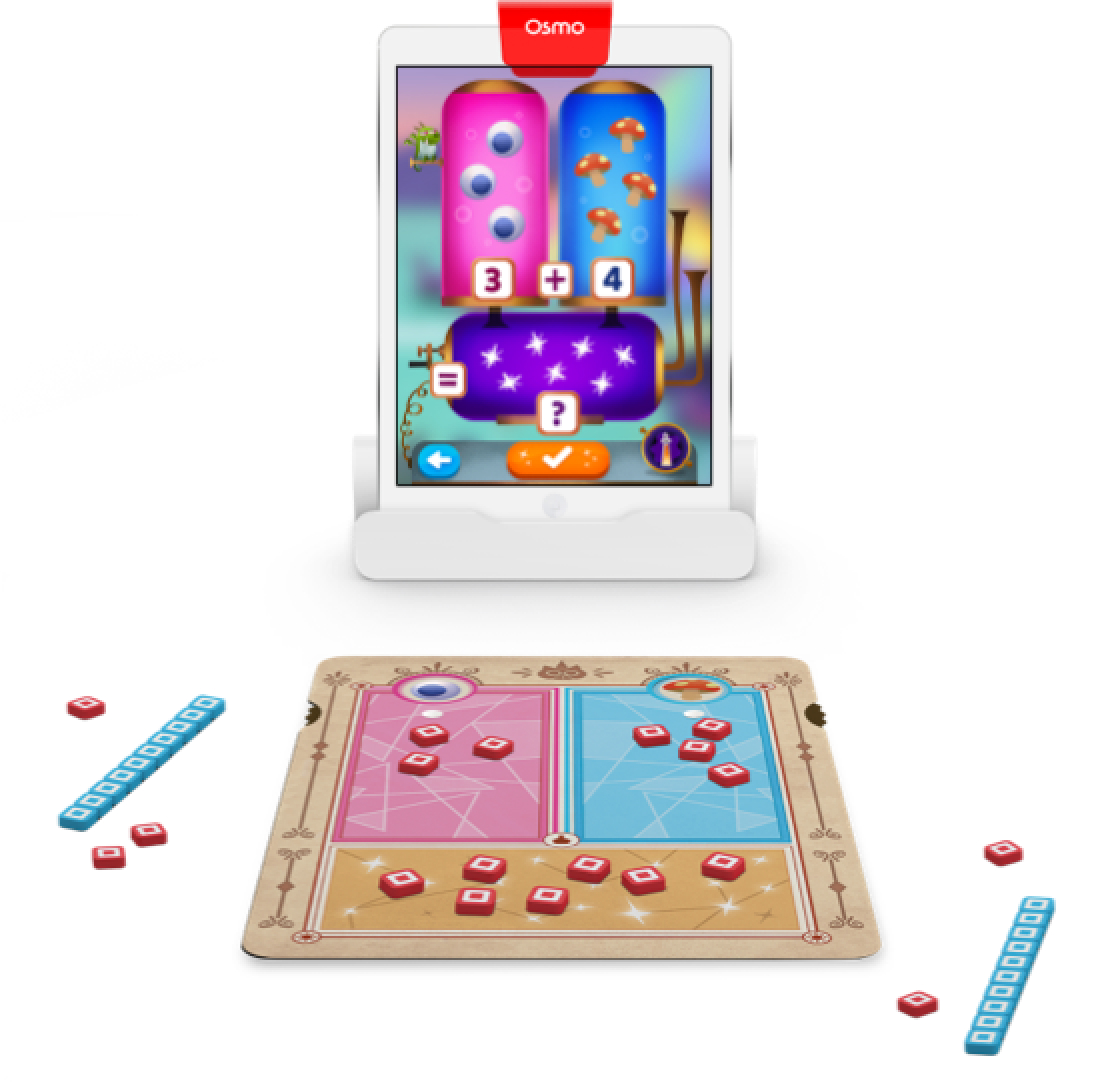
How Osmo works
How Osmo works
- 1Place your tablet in the Osmo Base.
- 2Secure the reflector over the camera.
- 3Use physical game pieces to play digital games — draw, code, spell, and more!

Learning well played
Make study time fun!
“
“
See What Parents & Educators Have to Say
“Osmo is really a magical experience.”
“A rare blend of fun and education”

“Fun, engaging, versatile”

“Osmo is really a magical experience.”
“A rare blend of fun and education”
“Fun, engaging, versatile”